I made $3,200 flipping this dresser! Before you come for my neck let me explain how I did this. I sell furniture on every platform…

I made $3,200 flipping this dresser! Before you come for my neck let me explain how I did this. I sell furniture on every platform you can imagine. Online, In Apps, as well as in-person at my workshop from repeat buyers and also from referrals.
Most people think that I am super organized and I’d like to think so too but in reality I’m far from that. Well, maybe I’m a little more organized than the average person, thanks to my partner in life.
I’ll tell you more about how this happens in a bit. Allow me a moment to show the rest of the folks how I transformed this dresser first.
This dresser is made by Dixie Furniture Co. A company that has been manufacturing furniture for nearly 100 years. They don’t make furniture like this anymore. The reason I able to do a full makeover on this dresser is because it is well made.
Dixie did not skimp on the quality. This is real wood on this piece.
Tools You’ll Need
| Tools | Check Price |
|---|---|
| Rubber Mallet | See Walmart |
| Paint Sprayer | |
| Multi-Tool | See Walmart |
| Orbital Sander | See Walmart |
| Nylon Wire Brush | Best Price on Amazon |
| Flexible Spatula | See Walmart |
| Pry Bar | See Walmart |
| Flathead Screw Driver | Best Price at Walmart |
Materials Required
| Materials | Check Price |
|---|---|
| Bondo | See Amazon |
| Paint Stripper | Save $7 Off at GreenEZ.com |
| Wood Filler | Best Price on Amazon |
| Primer | |
| Paint | |
| Paper Plate | |

I took off the outdated decorative molding from the center doors.
This is placed on with wood glue and two-sided nails. I use the pry bar and a flathead screw driver to pull off.
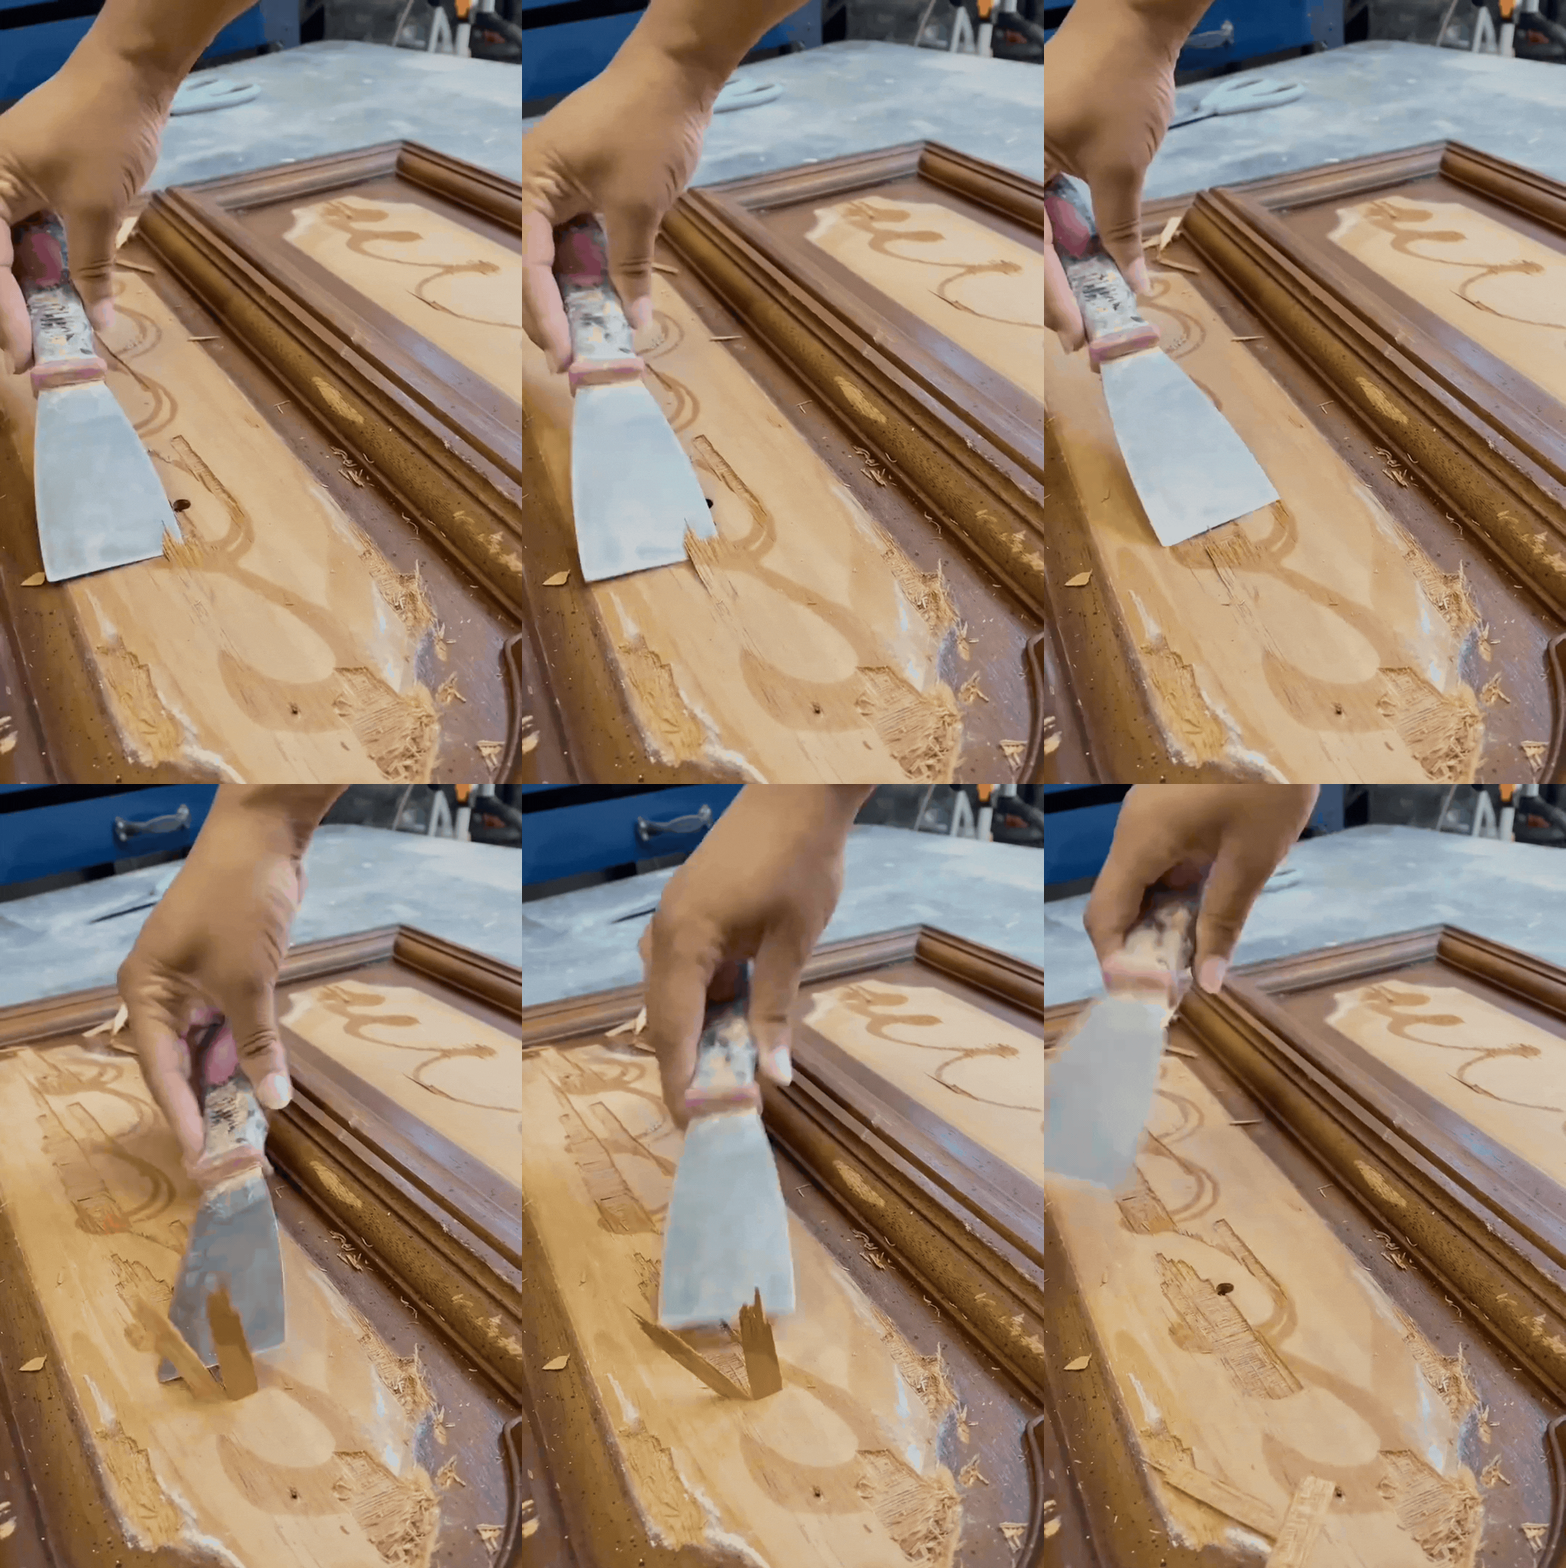
I then use a spatula to scrape the loose wood away.
There will be some minor damage that will be corrected on the next step.
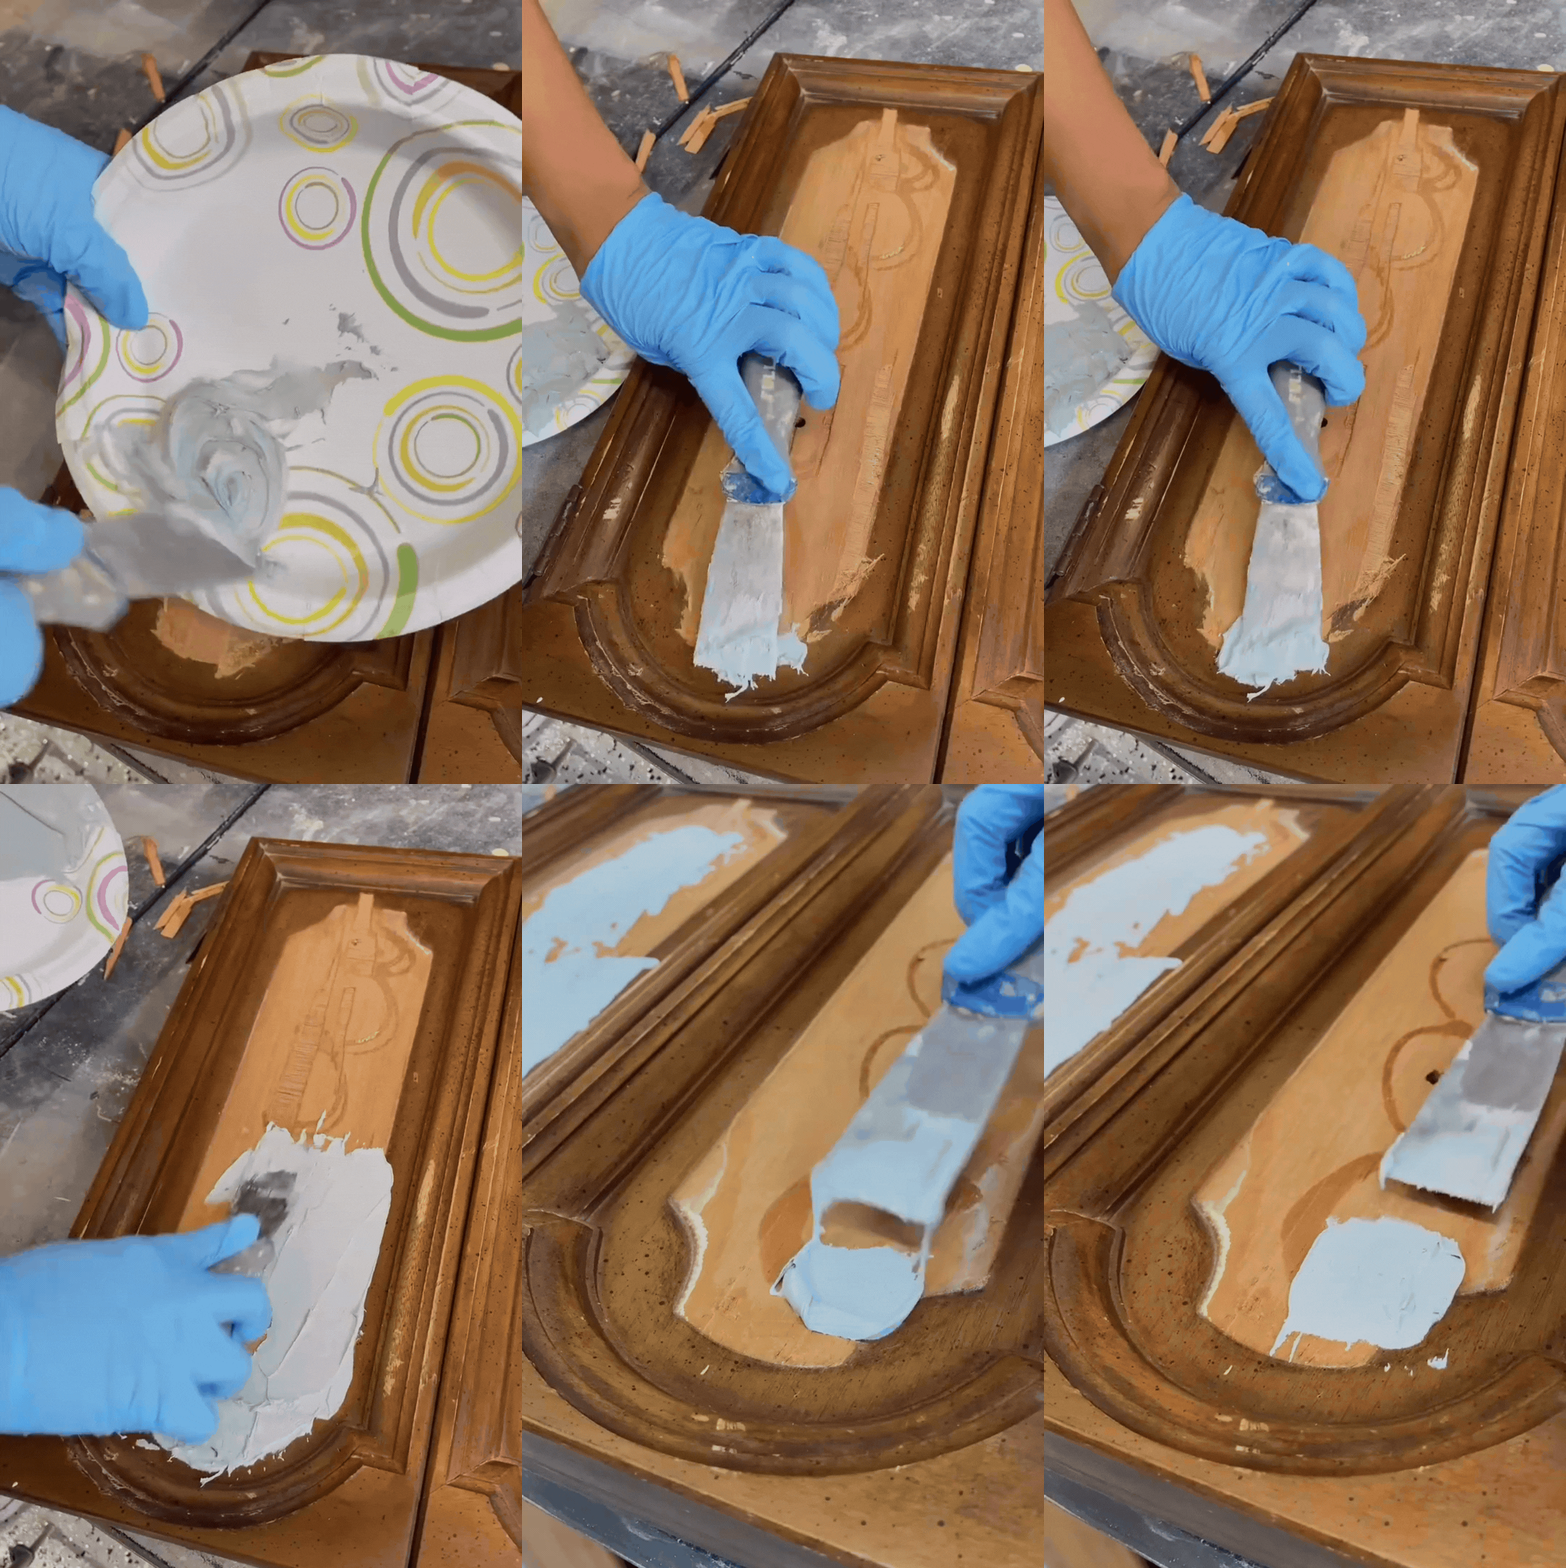
I apply bondo to the uneven areas.
Mix a small amount of Bondo with the cream hardener on a disposable surface until uniformly colored, then quickly apply the mixture to your cleaned and sanded furniture repair area using a plastic spreader. Once it hardens in about 15-30 minutes, sand it smooth with progressively finer sandpaper grits until ready for paint or finish.
- Important Tips:
- Work in small batches – Bondo sets quickly
- Don’t make the mix too thick for furniture
- Add a bit extra hardener in cold conditions
- Shape and smooth as much as possible while applying to minimize sanding
- For wood furniture, consider using slightly less hardener than auto repairs to give more working time
Key Advantages:
- Hardens quickly
- Can be shaped and sanded
- Takes paint well
- Stronger than wood filler
- Won’t shrink or crack
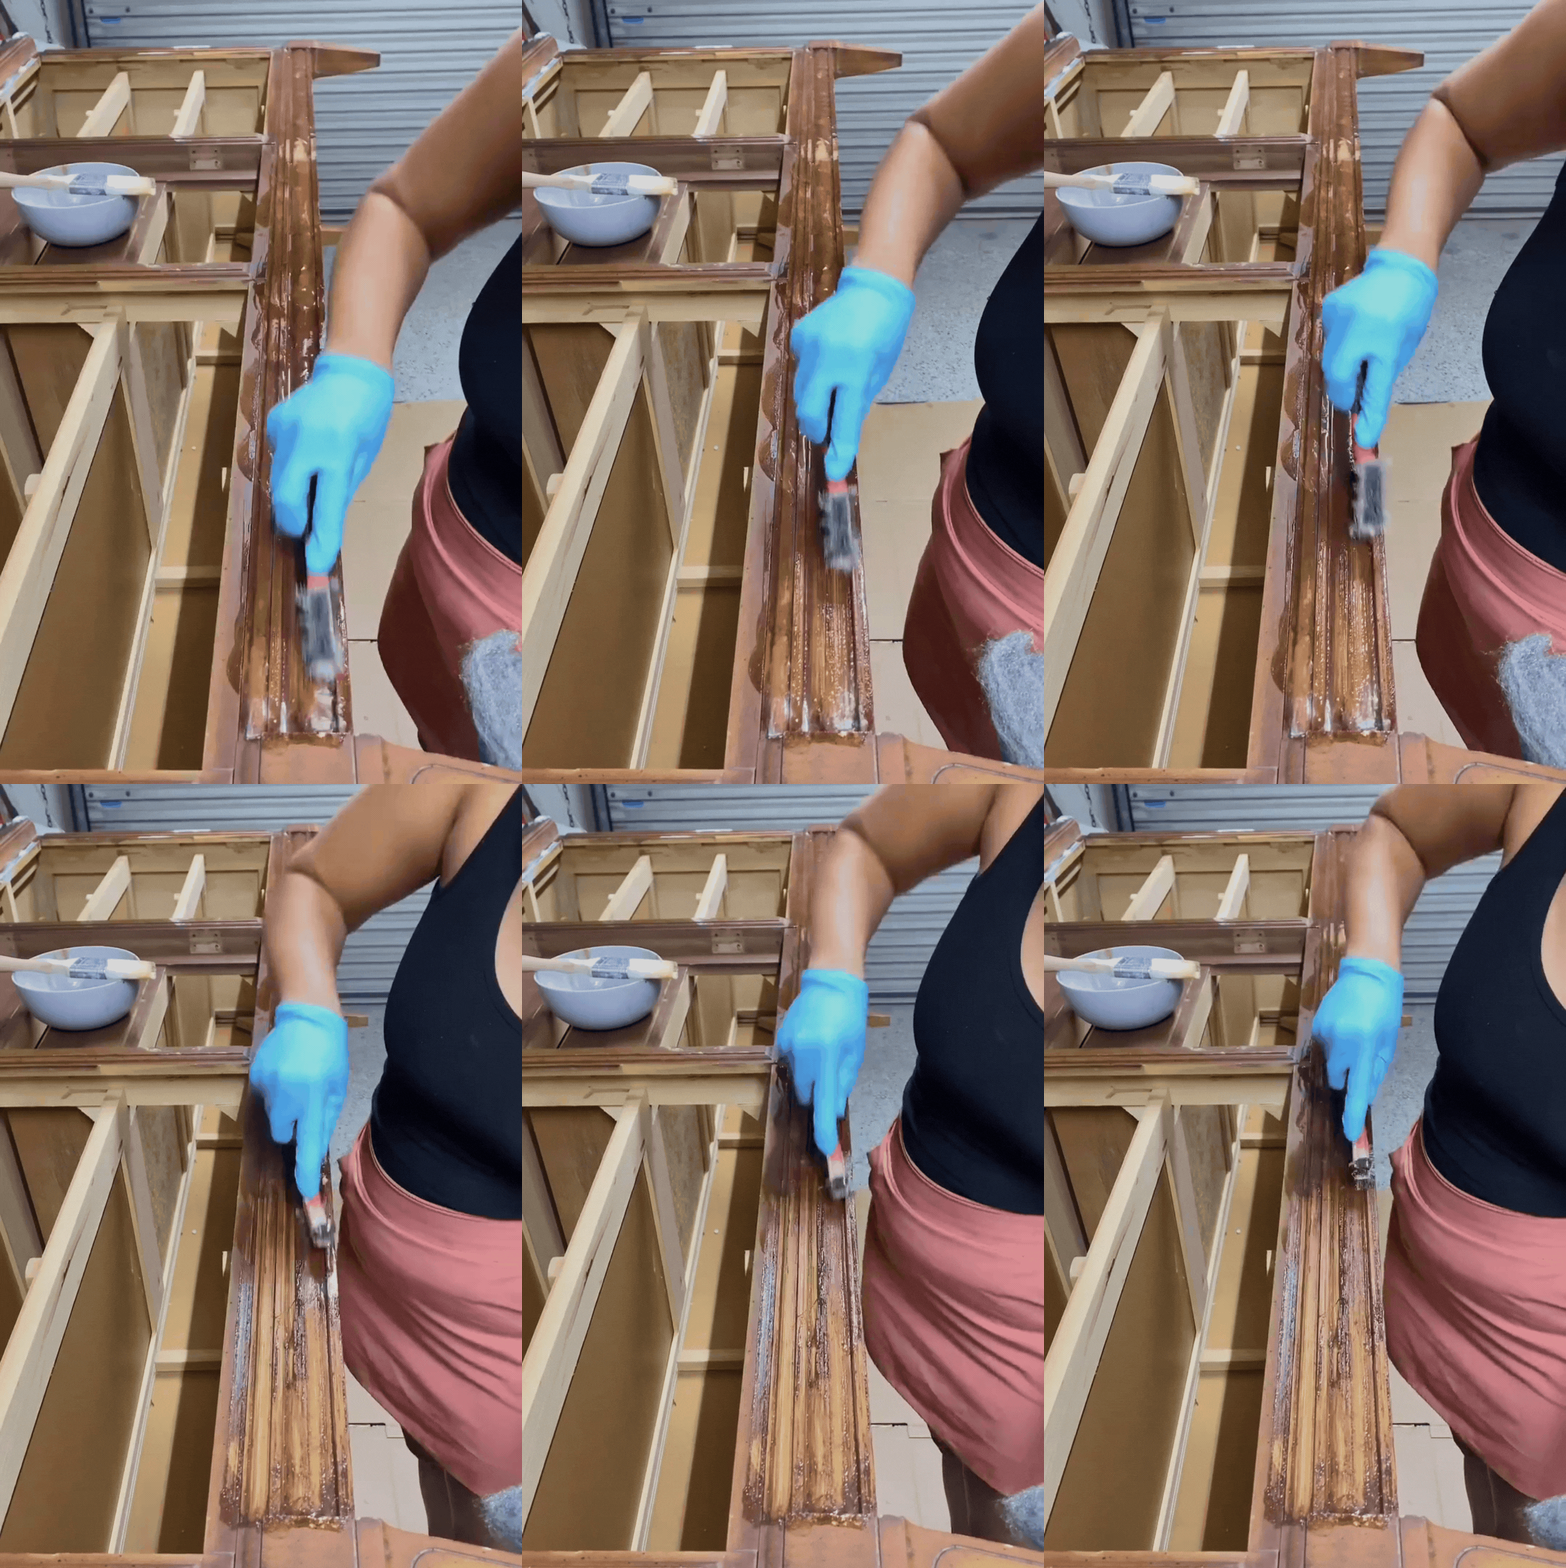
Many strippers can damage delicate wood surfaces, especially in intricate details. GreenEZ’s Furniture Stripper is gentle yet effective, removing multiple layers of old finishes without harming the wood.
I recommend using this stripping agent because it eliminates this issue with its non-toxic, odorless formula, ensuring a safer and more comfortable working environment.
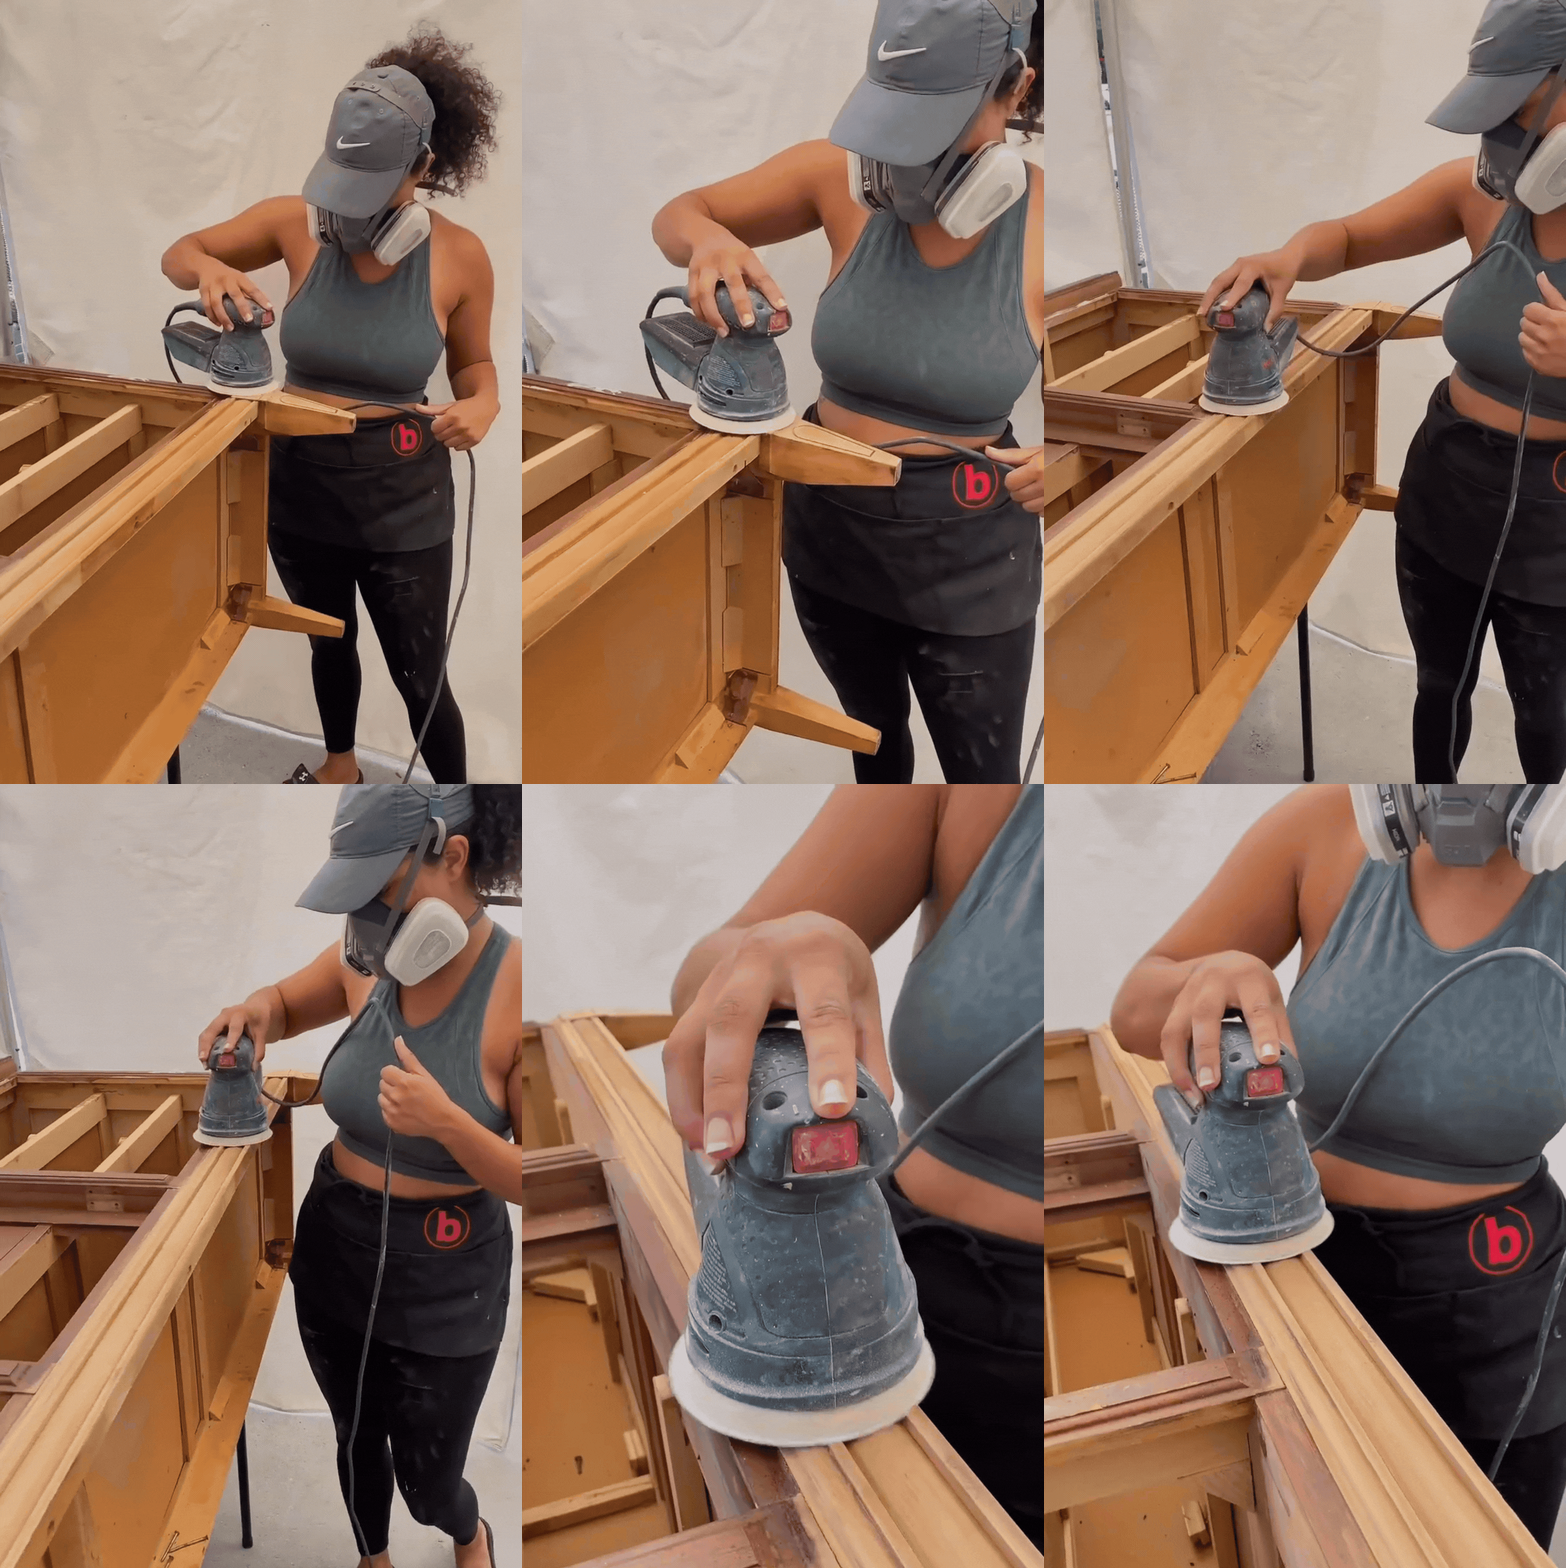
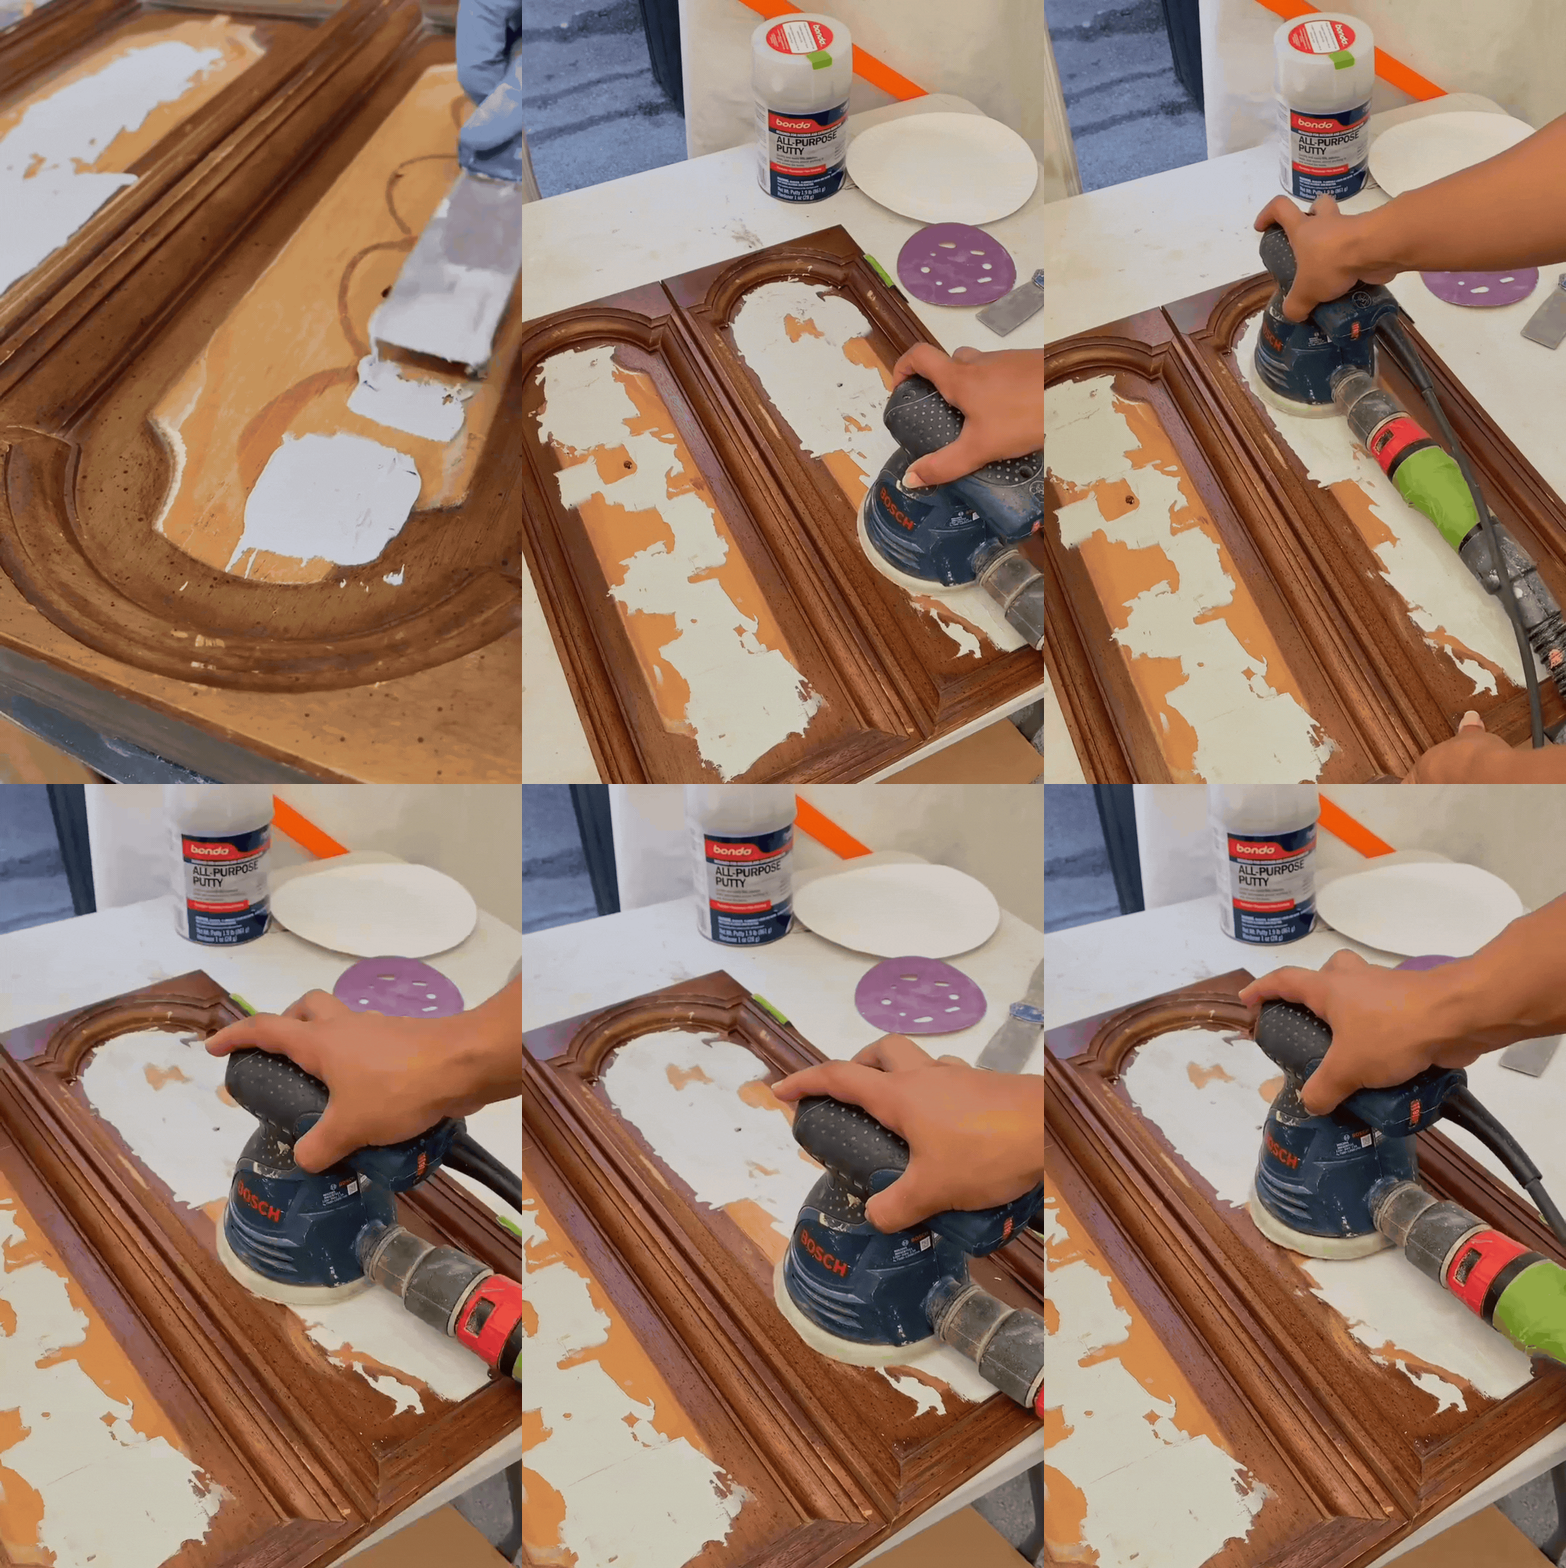
Start by selecting the appropriate grit sandpaper (coarser like 80 grit for heavy material removal, finer like 220 grit for finishing) and securely attaching it to the sander’s pad. I like to use a 220 for general sanding.
Turn on the sander and let it reach full speed before gently placing it on your work surface, then move it slowly and steadily in overlapping patterns while letting the tool’s weight do the work – don’t press down hard. Keep the sander flat against the surface at all times and maintain constant motion to avoid creating swirl marks or gouges in your material.

In this step I use a special formula of wood filler, that I call “wood filler soup”. I mix 9 parts wood filler 1 part water and mix until I have a thick soupy consistency.
Spread over the area to fill in the dins grooves. The flat surface will give such a great finish.
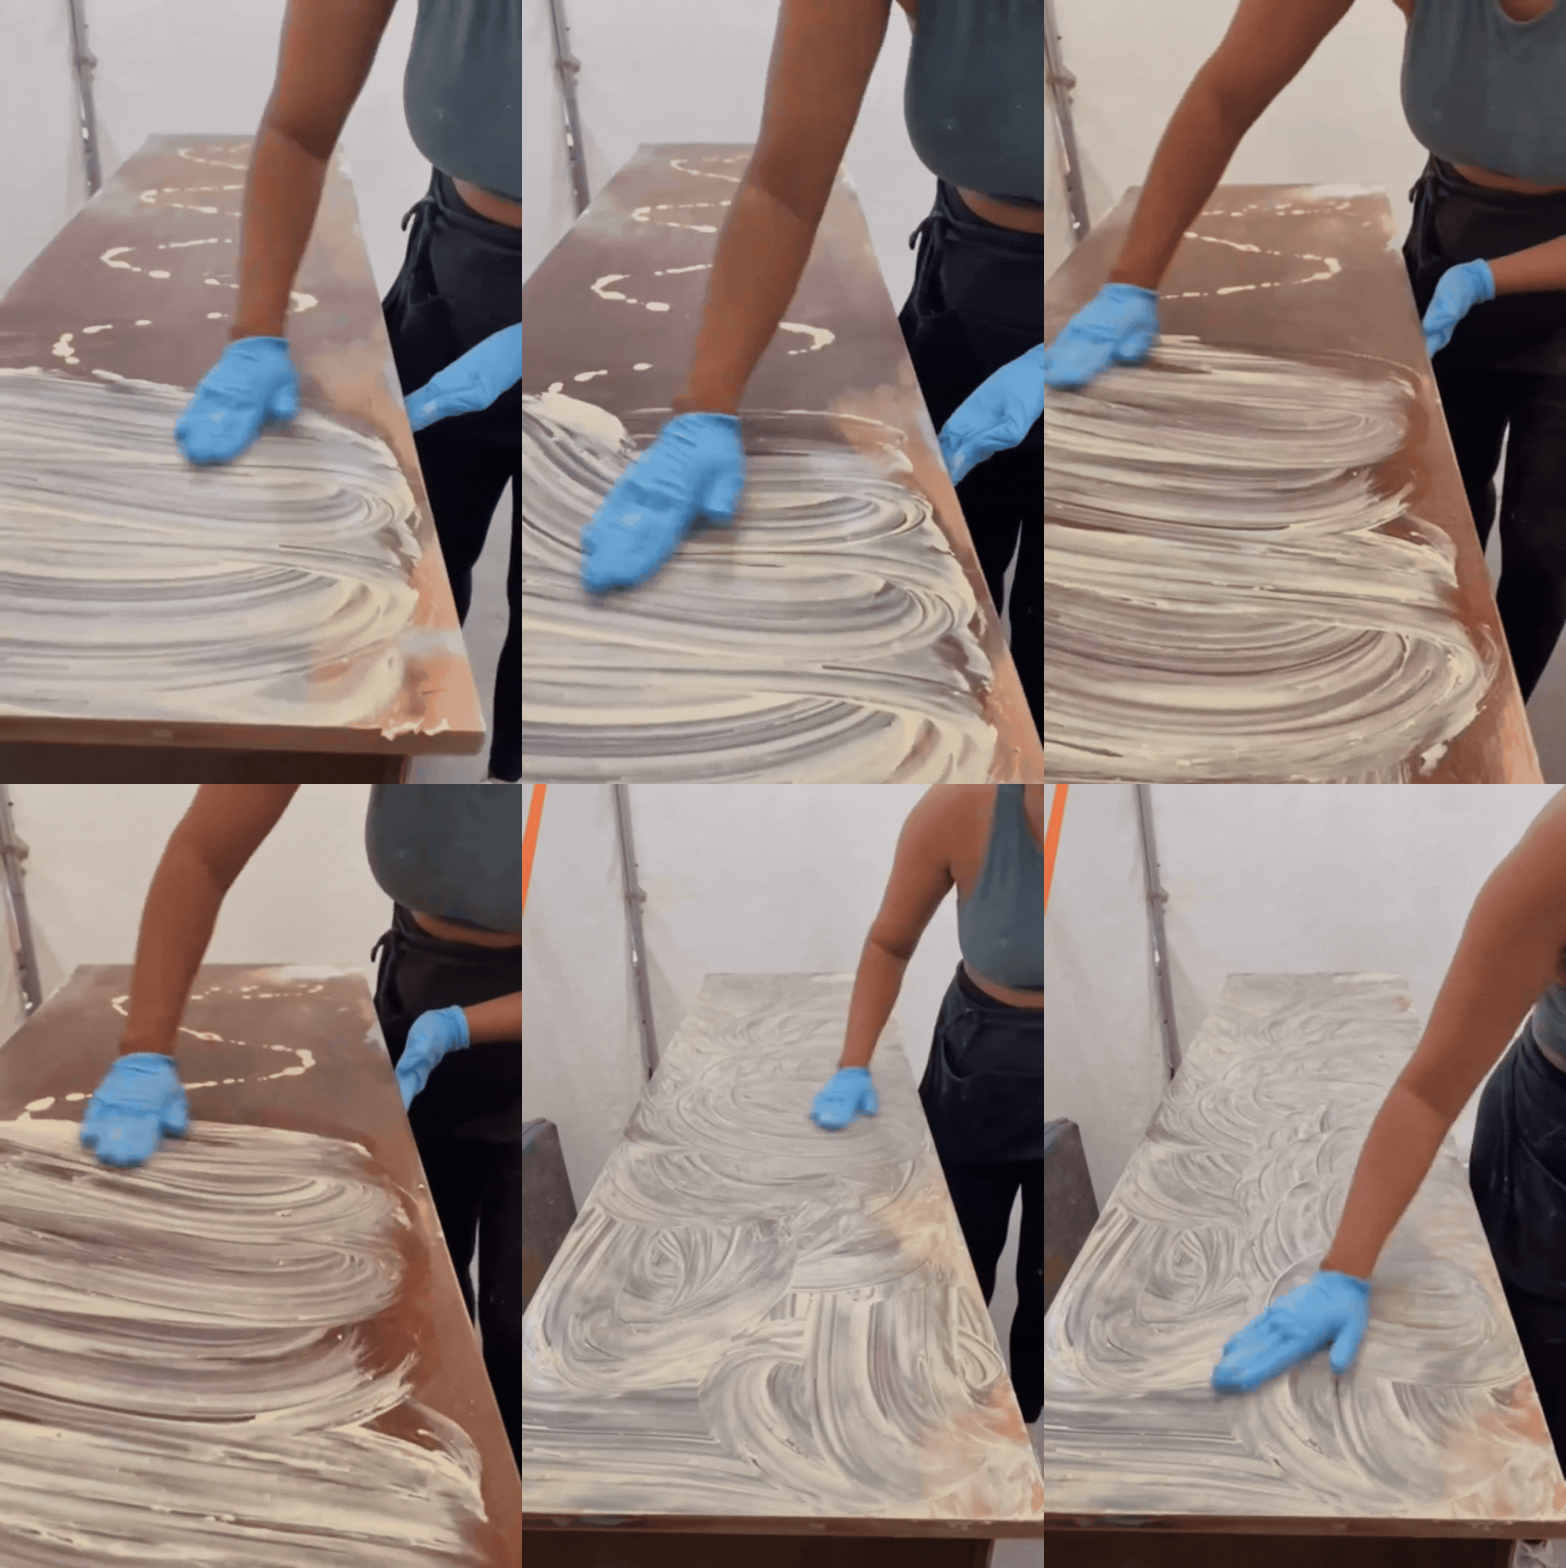
Let the wood filler sit until dry. 30-60 mins is enough time. When the climate is Warner the drying time decreases quite a bit.
Next step, I sand the top and wipe the dust off to prepare for painting.
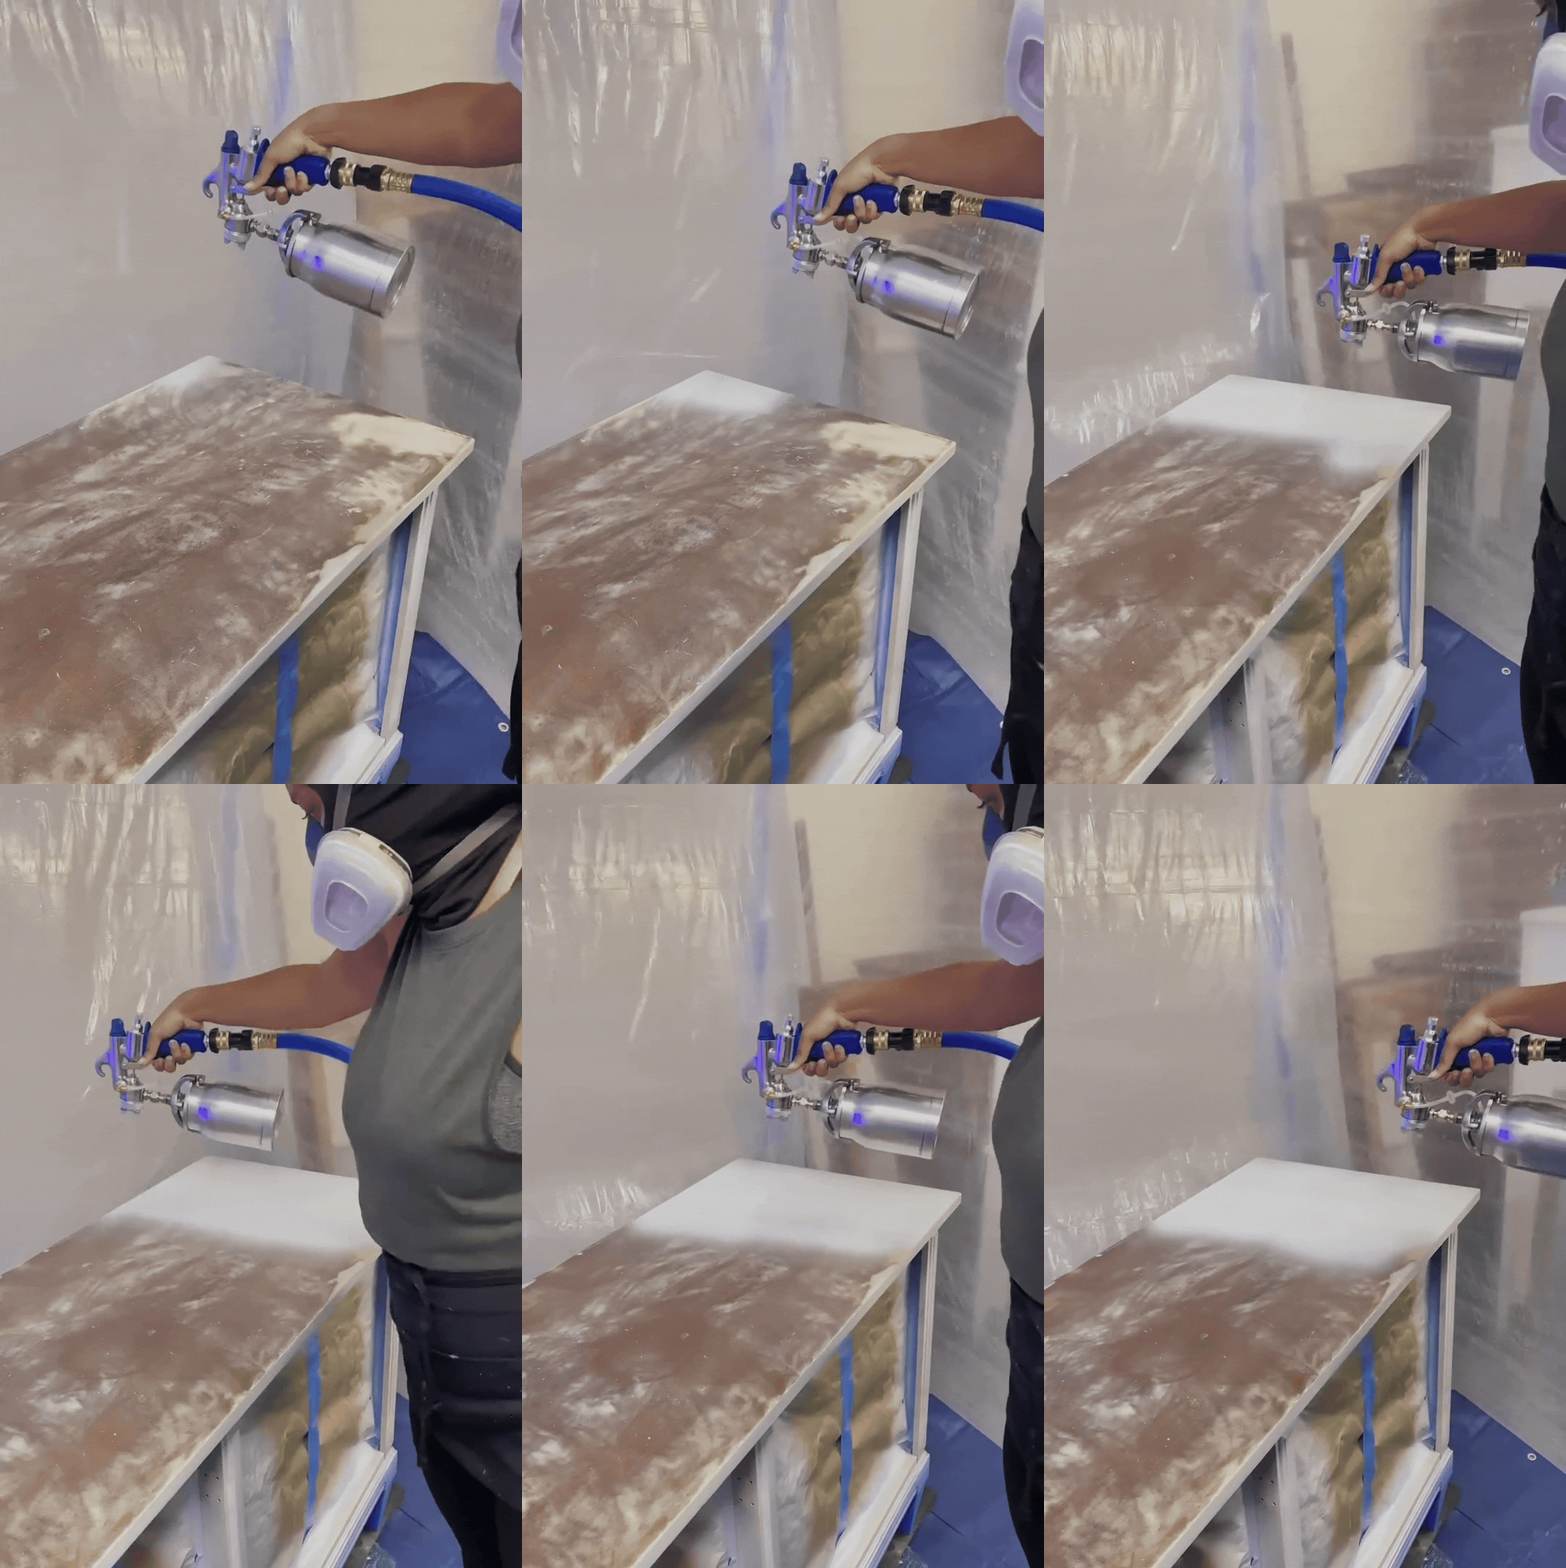
Primer creates a uniform, smooth surface that helps paint adhere better and last longer by sealing porous surfaces and covering dark colors or stains. For interior latex primer, wait 1-3 hours before painting in optimal conditions (around 70°F with 50% humidity), but for best results, letting it dry overnight ensures the primer has fully cured and will provide the best foundation for your paint.
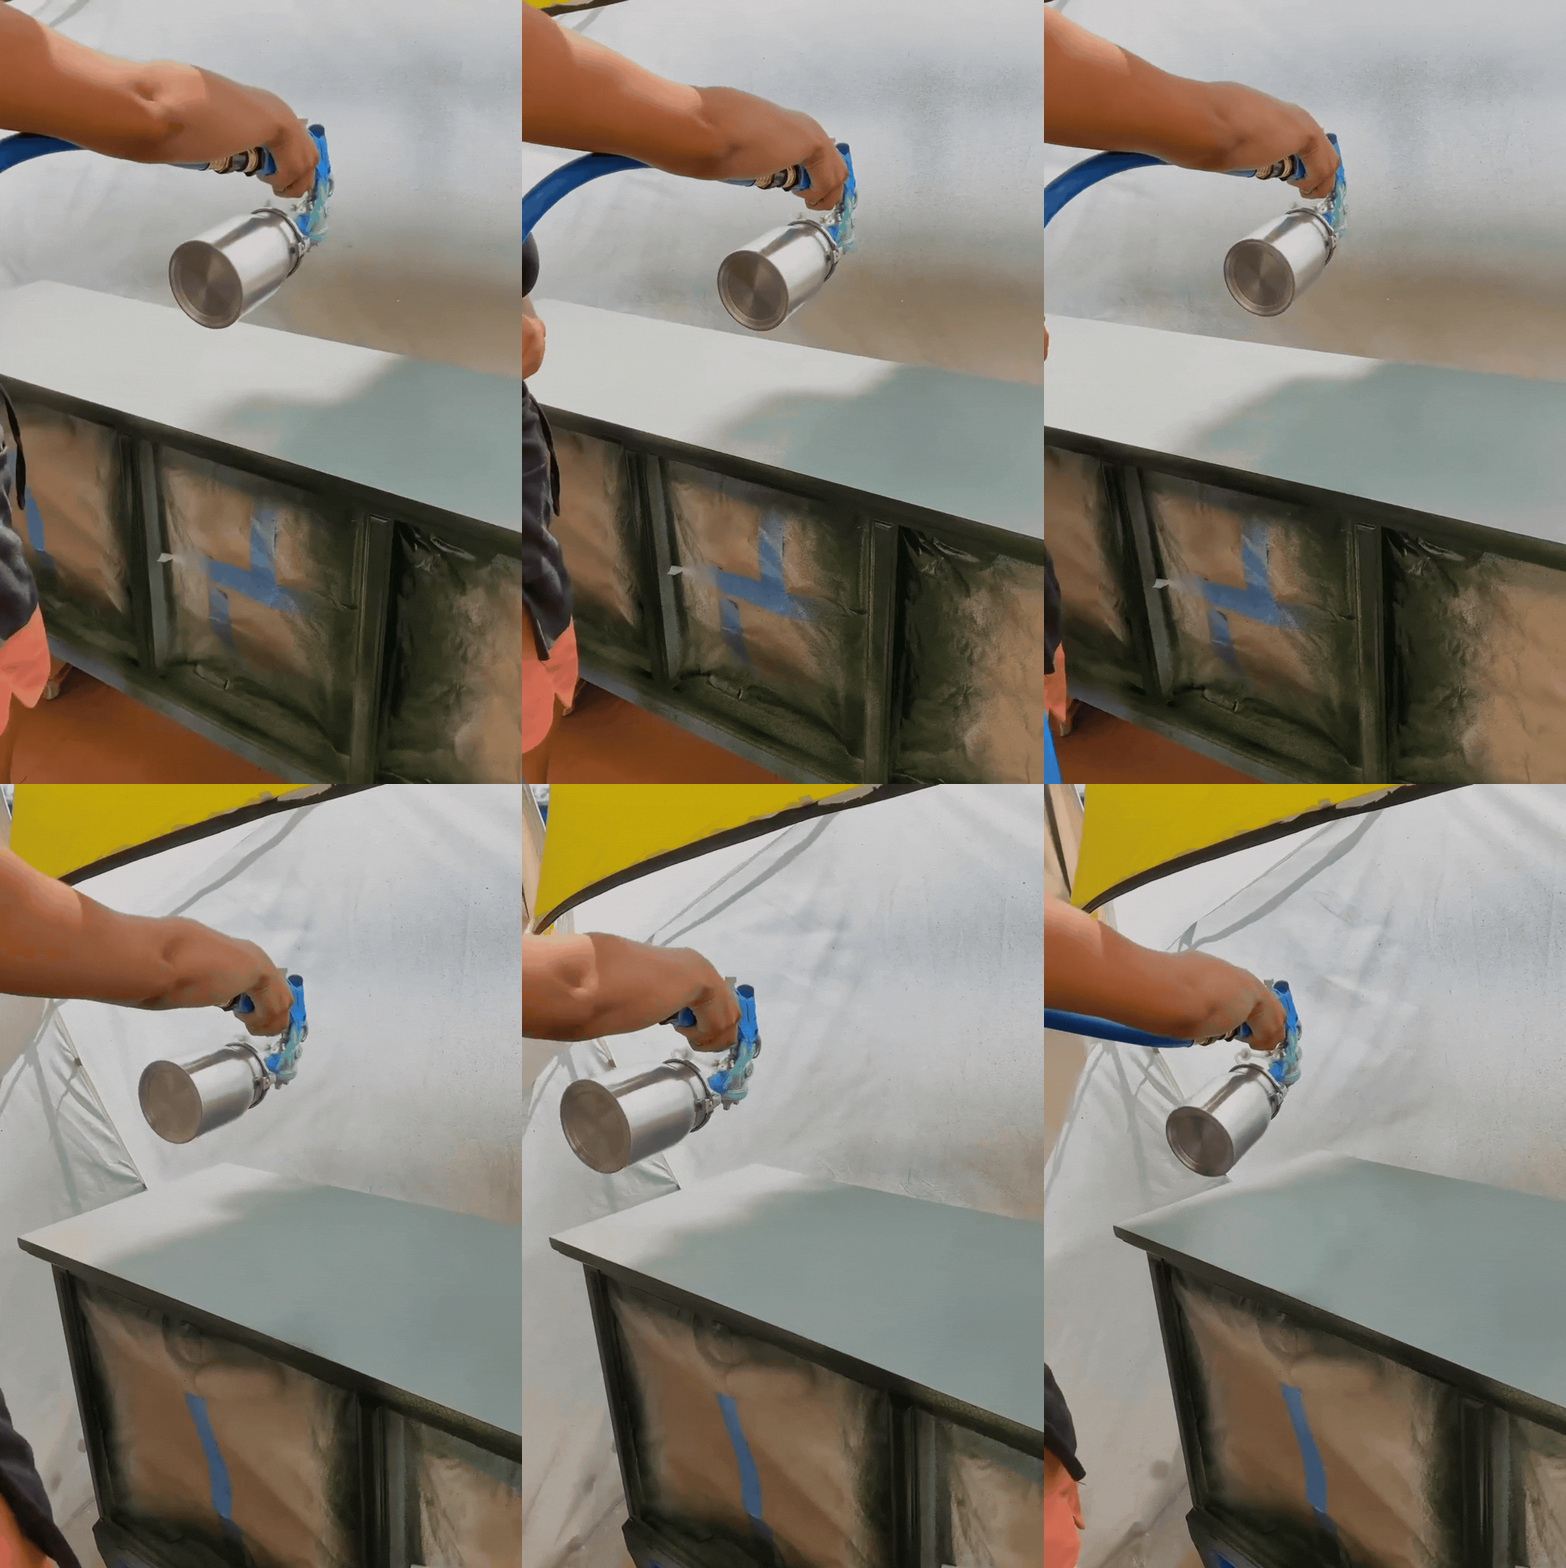
Here’s how to effectively use a paint sprayer for furniture:
Preparation and Setup:
- Work in a well-ventilated, dust-free area
- Cover surrounding area with drop cloths
- Thin paint according to manufacturer’s specs (usually 10-15%)
- Test spray pattern on cardboard first
- Keep sprayer 8-12 inches from surface
Spraying Technique:
- Move in straight, overlapping passes
- Keep motion steady and consistent
- Start spraying before reaching furniture
- Continue motion past furniture edge
- Don’t pivot wrist – move entire arm
Number of Coats:
- First coat: Light mist coat (30-40% coverage)
- Second coat: Full coverage after 1-2 hours
- Third coat: Final finish after another 1-2 hours
- Some paints may need only 2 coats
Critical Tips:
- Strain paint before adding to sprayer
- Keep sprayer perpendicular to surface
- Maintain consistent distance
- Clean sprayer thoroughly after use
- Temperature should be 65-85°F
- Humidity below 65% ideal
- Let fully cure 24-48 hours before use
Common Mistakes to Avoid:
- Improper thinning ratio
- Spraying too heavily (causes drips)
- Moving too slowly (creates texture)
- Starting/stopping on furniture
- Not keeping sprayer level
Furniture Flip Reveal:
143717 likes via Instagram


