How to White Wash Dining Table and Chairs
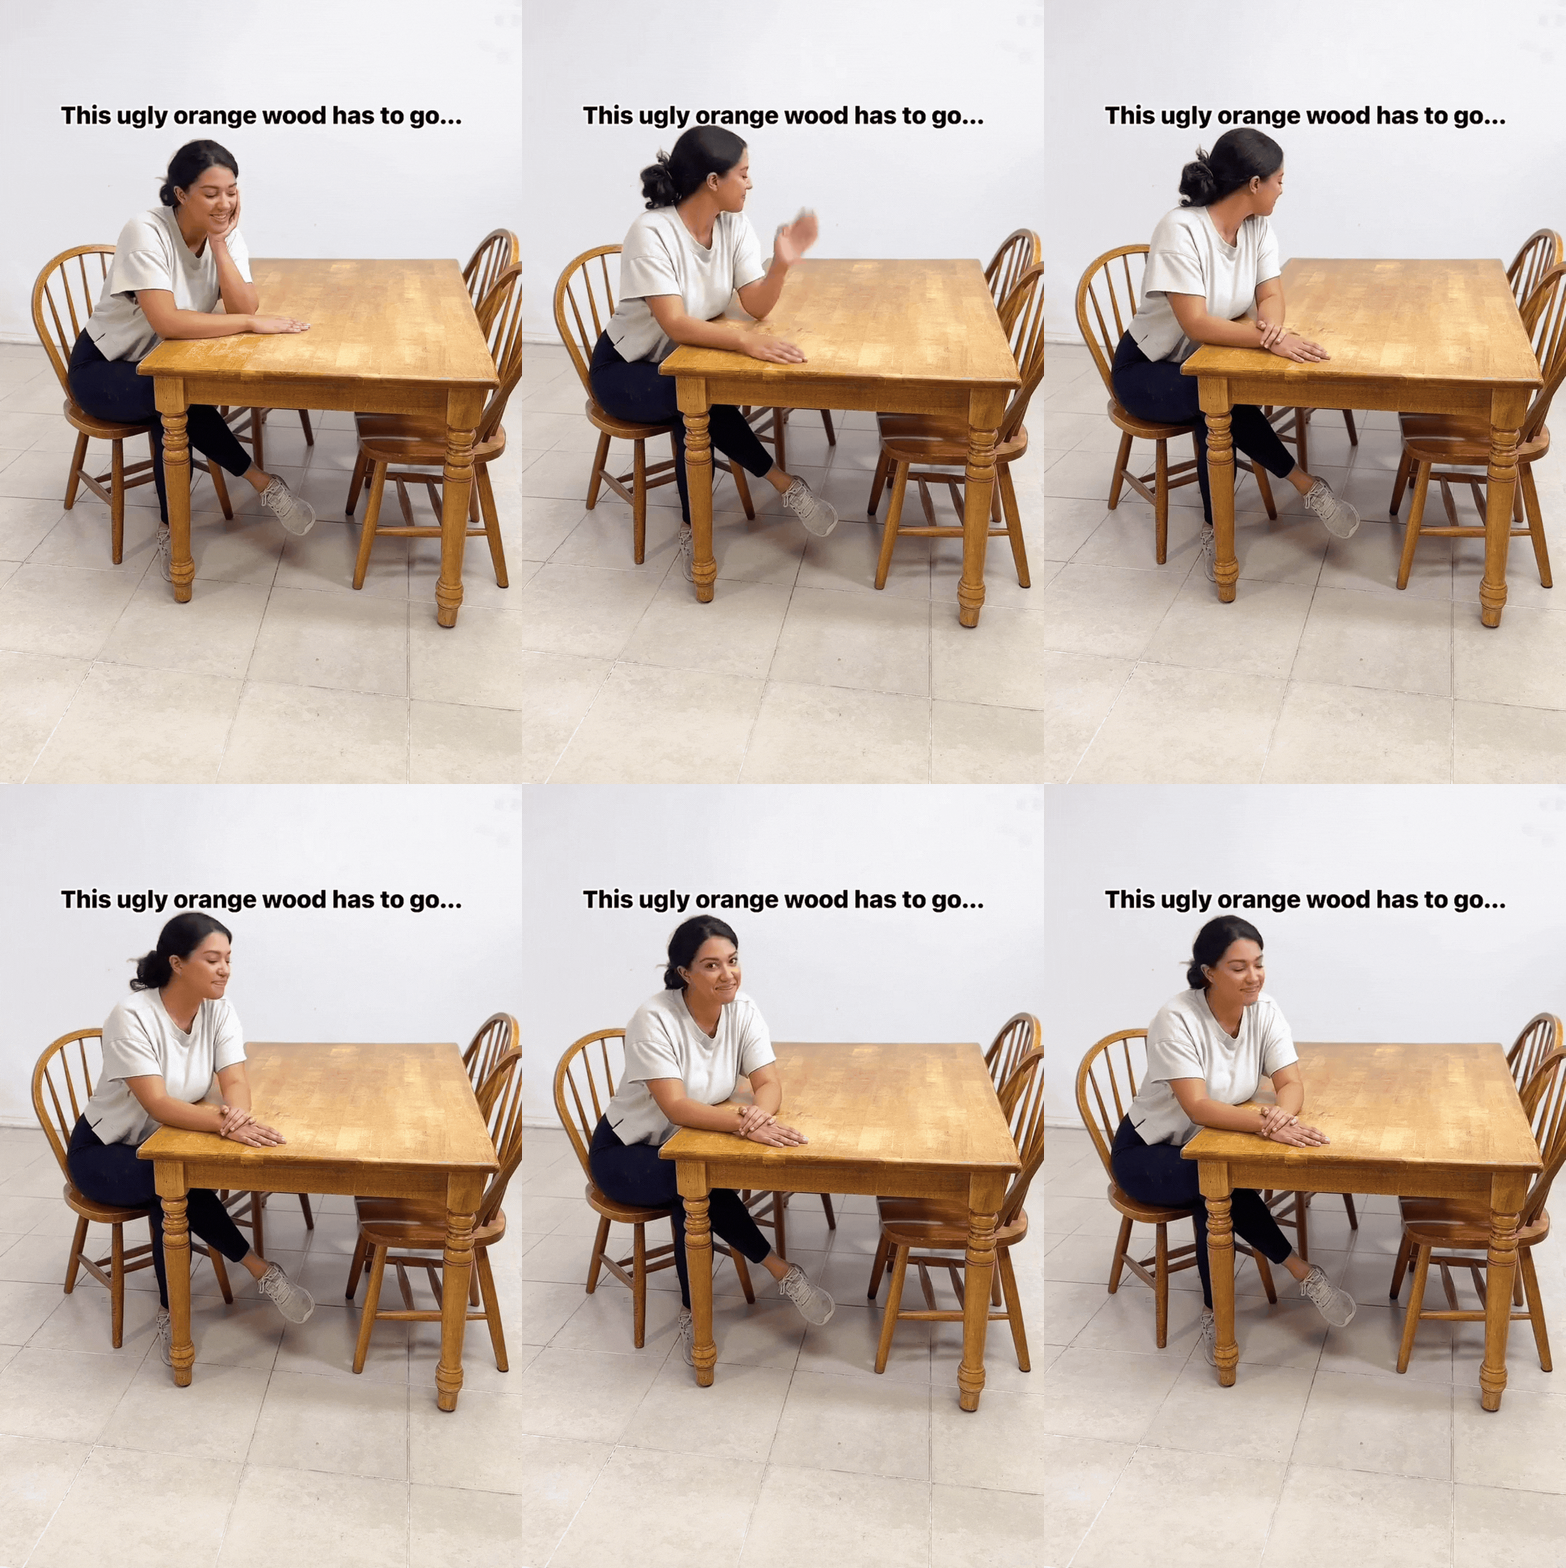
Whitewashing your dining table and chairs is a fun project that can brighten up your space!

First, gather your materials like paint, brushes, and a soft cloth. Next, clean and sand the furniture to prep the surface.
Mix equal parts paint and water for that perfect whitewash consistency, and apply it to your furniture using a brush or rag. You can adjust the mixture for bolder or softer looks, making it uniquely yours!
Gather Your Materials
Don’t forget to grab brushes, rags, and a protective finish!
Before diving into your whitewashing project, it’s essential to gather all the necessary materials.
Tools You’ll Need:
| Tools | Check Price |
|---|---|
| Orbital Sander | See Walmart |
Materials
| Materials | Check Price |
|---|---|
| Paint Brush | See Amazon |
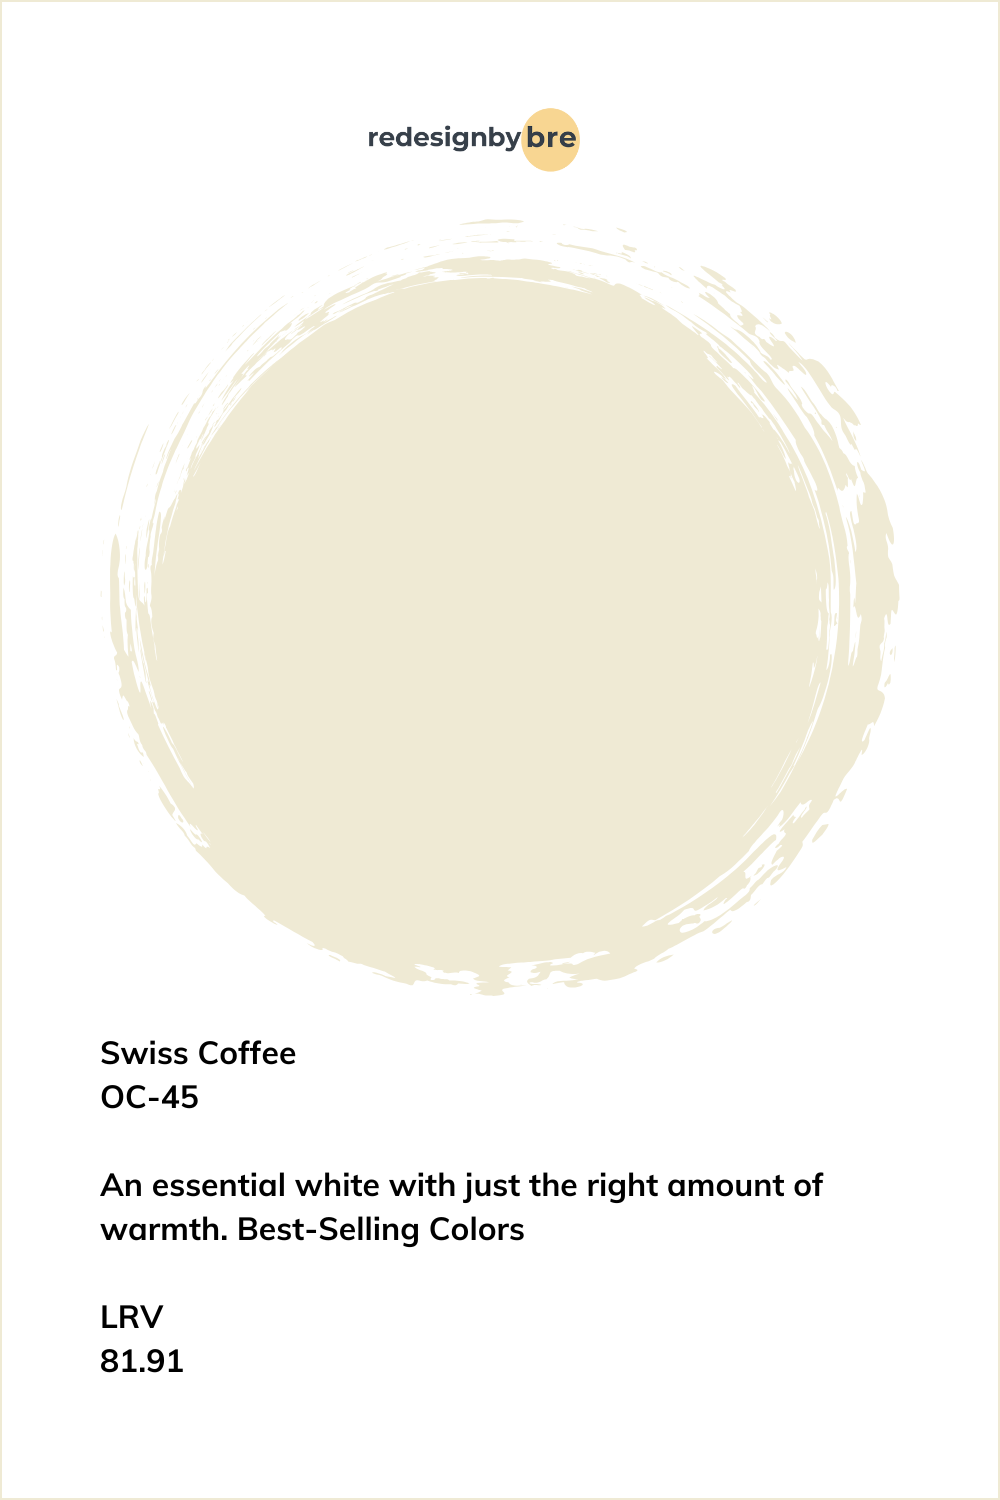
| Paint | Swiss Coffee – 45 |
| Plastic Cup | |
| Water | |
| Protective Coat | See Amazon |
| Microfiber Cloths | Best Price See Amazon |
| Cushions | See Amazon |
Prepare the Furniture
To achieve the best results, you’ll need to thoroughly prepare your dining table and chairs before applying the whitewash.

Start with some serious furniture cleaning; grab a gentle cleaner and a soft cloth, wiping away dust and grime to reveal that beautiful wood.
Next, focus on surface preparation. If your furniture has old paint or a glossy finish, lightly sand it with fine-grit sandpaper.

This step creates a rough surface that allows the whitewash to adhere better. Remember, the goal is to expose the natural texture of the wood, so don’t rush!

Once you’re done, wipe off any dust with a damp cloth.
With your furniture prepped and ready, you’re one step nearer to transforming your dining area into a fresh, inviting space.

Mix the Whitewash
How can you create the perfect whitewash for your dining table and chairs? Start by mixing water and paint in a 1:1 ratio for that ideal consistency.
I’m using Benjamin Moore Swiss Coffee paint color.
Experiment with different whitewash techniques to find what you love best. If you want a softer look, add more water; for a bolder finish, increase the paint.
Apply the Whitewash
Once you’ve mixed your whitewash to the perfect consistency, it’s time to apply it to your dining table and chairs.
Grab a clean brush or cloth, and choose your favorite whitewash techniques, like brushing or ragging for unique effects.

Start at one corner, working your way across the surface. You can create stunning color variations by adding more or less whitewash, so don’t be afraid to experiment!

If you want a heavier look, apply a second coat after the first dries.
Remember, this is your chance to make your furniture shine with character. Enjoy the transformation and have fun watching your dining set become a centerpiece.
You’re crafting something special, and it’s going to look amazing!

Finishing Touches
After applying your whitewash, it’s time to focus on the finishing touches that truly improve your dining table and chairs. These details make a big difference in the final appearance of your furniture.
Start by choosing a protective coating that suits your style and needs, like a matte or glossy finish. This not only adds beauty but also safeguards your work from scratches and spills, ensuring your table stays stunning.
Consider adding decorative elements like a colorful table runner or stylish placemats to complement the whitewash. You might even want to swap out old hardware for modern knobs or handles, giving your pieces an updated flair.
These final touches will raise your dining experience, making it as inviting as it’s beautiful.
Most Comfortable and Plush Cushions
The dining chair cushions are made by Barnett Home Decor. You can find these on their website or on Amazon. These are truly the most comfortable and plush cushions I have ever sat on. I absolutely love these.

If you are looking for cushions for your dining chairs or for your patio furniture I highly recommend that you keep these as your first option. You won’t be disappointed.

Conclusion
You’ve transformed your dining table and chairs into a beautiful, whitewashed masterpiece! Just imagine gathering with family and friends, sharing meals around your refreshed furniture that radiates warmth and style. It’s like giving your space a cozy embrace, inviting everyone to sit down and enjoy each other’s company. So go ahead, welcome your creativity, and let your dining area shine with joy!
Frequently Asked Questions
Can I Whitewash Furniture With a Glossy Finish?
You can whitewash furniture with a glossy finish, but proper preparation is key. Sand the surface lightly to create a better grip for the whitewash, ensuring a smooth, innovative finish that improves the piece’s character.
How Long Does the Whitewash Finish Last?
Wondering how long that whitewash finish lasts? It varies based on durability factors like climate and usage. With proper maintenance tips, you can extend its life, ensuring your furniture keeps looking fresh and innovative for years.
Is Whitewashing Suitable for Outdoor Furniture?
Whitewashing isn’t ideal for outdoor furniture unless you improve its outdoor durability. You’ll need to apply a weather-resistant sealant afterward to protect it from elements, ensuring your innovative design withstands the test of time.
Will Whitewashing Hide Existing Scratches or Dents?
Whitewashing can help minimize the appearance of scratches and dents, but it isn’t a perfect solution. For better scratch concealment techniques, consider the wood’s condition and whitewash durability factors before proceeding with your project.
Can I Use a Different Color Instead of White?
Absolutely, you can investigate alternative colors instead of white! Think outside the box with vibrant color combinations that reflect your style. Get creative and let your imagination run wild to achieve that innovative look you desire!


